
Strip-till is a minimum cultivation technique that works the seeding row without the plough, and is also used in conservation agriculture. Strip-till tools can be used solo or as part of a combination. They are often equipped with modular units in terms of spacing (45 to 80cm). The technique has the advantages of direct drilling and ploughing when it comes to heating the soil, humidity, structure, and load bearing capacity. Managing plant cover and crop residues between rows is important when using this method. Tool presentation and best practices.
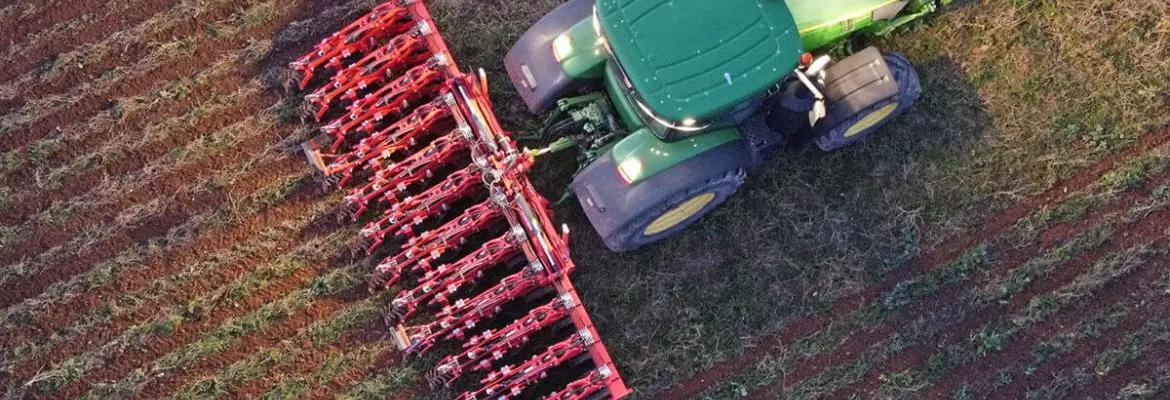
The components of a strip-till tool with spot fertilisation unit
Grain or silage maize, sunflower, beetroot, sorghum, and rapeseed can all be planted using the strip-till method.
Schematically, the strip-till tool can be described from front to back as follows:
- A ground following unit (1).
- An opening disc (2).
- A trash remover (3).
- A spot fertilisation unit for nitrogen fertiliser (4).
- A cracking and loosening tine (4).
- Deflector discs (5).
- Press wheels (6).

The rules: working depth and soil type
Strip-till in heavy and clayey soils
Autumn conditions are suitable for strip till:
- Either in September or October when the soil is dry after the summer harvest.
- Or in October or November after a late harvest, even on frozen land to crack it open.
In these cases, deep work is carried out (20 to 30cm), possibly accompanied by fertilisation, at a speed of between 6 and 10km/h. The aim is to create a 5 to 10cm high ridge that will be hardened by the winter weather.
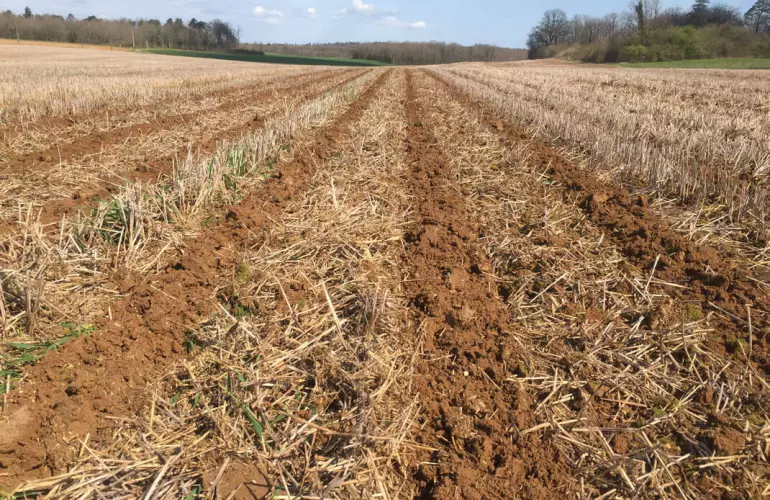
To prepare a seedbed of fine soil, a second operation is necessary to work between the rows. This spring tillage technique prepares the plot for the following year’s crops. It is carried out a few days before seeding, i.e., 7 to 45 days. Strip-till can work the plot at shallow depths (5 to 15cm), to keep the humidity in the soil, at speeds of between 8 and 12km/h. An NPK fertiliser is suitable. Trace elements can also be added to avoid or compensate for deficiencies (Mg, S, B, Zn, Silica).
Managing the worked strip in light soils
Only one pass is needed. Min-till techniques for planting are similar to those described for spring tillage on heavy soils, a few days before sowing.
Strip-till techniques for summer crops
Use the strip-till tool in autumn, just after harvest or just before seeding. The technique consists in working at a depth of between 15 and 20cm, possibly accompanied by fertilisation, at a speed of between 8 and 12km/h. The aim is to create a 4 to 5cm high ridge that will be flattened by the rain and the seed drill.
Agronomic recommendations for planting
- Lack of adhesion in winter: pay attention to speed to avoid creating compacted surfaces
- Only work the field in good conditions, on dry soil, to avoid creating plough pans or smoothing, especially in the autumn in clayey soil
- Spread crop residues and organic matter across the surface (chaff spreader, harrow, etc.).